Projects with Shared Ownership
When an outdoor project is broken into parallel sub-assemblies, nobody stands idle watching one person hold a screwdriver. Here is how to run three high-utility garden builds where every pair owns a critical component.
Why modular joinery works for mixed adult groups
Traditional garden construction often fails as a group activity because a single task—like digging four post-holes—only allows two people to work while six others watch awkwardly. By adapting production-cell principles used in community timber workshops and therapeutic horticulture sites (such as Thrive's Reading trunk-height beds and the Eden Project's outer-estate learning shelters), we split each build into four concurrent workflows.
Sub-groups work simultaneously on timber framing, hydraulic sub-irrigation inserts, substrate blending, and botanical layout. At the 60-minute mark, the sub-assemblies converge like interlocking puzzle pieces.
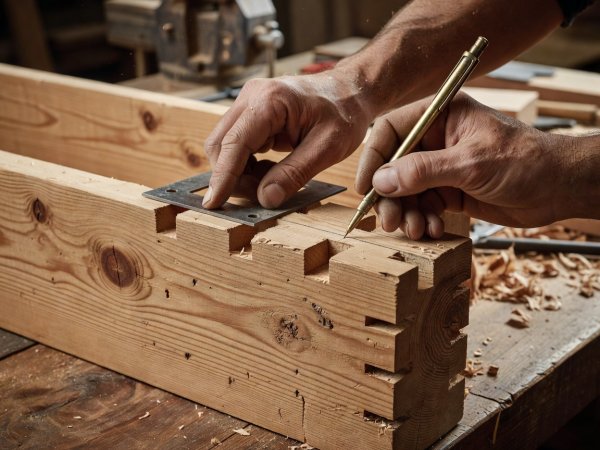
| Project Blueprint | Ideal Group per Unit | Duration | Seated vs Standing Ratio | Host Venue Legacy |
|---|---|---|---|---|
| Sub-Irrigated Cedar Herb Trough | 5–6 adults per trough | 120 mins | 50% Tabletop / 50% Bench | Self-watering kitchen bed (lasts 10+ yrs) |
| Coppiced Hazel & Jute Windbreak Screen | 4 adults per 1.8m bay | 90 mins | 40% Seated / 60% Standing | Acoustic privacy & sweet-pea frame |
| Multi-Bay Solitary Bee & Bug Sanctuary | 6 adults per tower | 105 mins | 75% Seated / 25% Standing | Cleanable cavity-nesting pollinator hub |
| Twin-Bay Hot/Cold Leaf-Mould Composter | 6–8 adults per twin bay | 150 mins | 30% Seated / 70% Standing | 2-cubic-metre soil regeneration system |
Detailed Project Blueprints & Role Cards
Open any project below for the exact duration, effort strip, four-part role breakdown, and facilitator pre-check list.
The Outcome: A raised 120cm x 60cm cedar trough fitted with a 35-litre food-safe lower water reservoir, capillary wicking columns, overflow brass spout, and a planted canopy of culinary perennials and cut-and-come-again greens.
Role 1: Frame & Corner Joiners
Align pre-rebated 45mm cedar planks using stainless coach bolts and hand T-bar ratchets. Check diagonal squareness with story sticks.
Role 2: Reservoir Engineers (Seated)
Cut perforated corrugated drainage pipe sleeves, wrap with non-woven geotextile fleece, and fit the vertical fill-tube and float gauge.
Role 3: Substrate Chemists
Blend coir blocks, screened bark fines, worm castings, and expanded clay pebbles at the mixing trough to achieve optimal capillary draw.
Role 4: Guild Planters & Taggers
Arrange tall woody herbs (rosemary, sage) on the north edge and trailing thyme/marjoram on the south rim; stamp copper nameplates.
Facilitator Setup Checklist:
- Pre-drill all pilot holes in cedar corner posts so participants never battle split grain.
- Provide 10-litre watering cans rather than 25-litre drums so everyone can pour comfortably.
- Keep spare stainless M8 washers and wingnuts in magnetic bowls on each bench.
The Outcome: Freestanding modular trellis hurdles crafted from winter-cut UK hazel (Corylus avellana) rods, weighted in heavy oak sleeper shoes so they can screen bin stores or support climbing runner beans on hardstanding.
Role 1: Rod Graders & Trimmers
Sort coppiced hazel rods by butt diameter (25mm uprights vs 12mm weavers) and trim cleanly with anvil loppers.
Role 2: Cordage Riggers (Seated)
Measure and wax-whip 1.5-metre lengths of 4mm tarred hemp twine; demonstrate the timber hitch and diagonal lashing on tabletop jigs.
Role 3: Frame Weavers
Work in pairs on opposite sides of the upright jig, passing flexible willow and hazel weavers through the warp poles in an alternating slewing pattern.
Role 4: Base Shoe & Vine Fixers
Bolt the woven hurdle into its weighted sleeper base and tie in established container-grown Trachelospermum or sweet-pea plugs.
The Outcome: Many commercial "bug hotels" filled with pine cones and bark only harbour earwigs or damp mould. Following guidance from Buglife and the Xerces Society, teams build a dry, south-east-facing larch cabinet containing replaceable Phragmites reed cartridges and smooth-bored oak blocks for Red Mason Bees (Osmia bicornis) and leafcutter bees.
Role 1: Hardwood Block Drillers
Use depth-stopped brad-point bits (6mm, 8mm, and 10mm) and fine sandpaper reeds to create splinter-free 140mm deep nesting tunnels.
Role 2: Reed & Bamboo Bundlers
Cut hollow common reed stems just behind the natural node and pack them tightly into removable terracotta clay tubes.
Role 3: Roof & Overhang Carpenters
Assemble the 30-degree pitched larch roof with a 75mm front rain overhang and bird-guard wire mesh (20mm gauge) to prevent woodpecker raids.
Role 4: Forage Mud & Sign Makers
Prepare an adjacent clay-quarry mud dish (vital for mason bees to seal egg chambers) and engrave the seasonal maintenance instructions.
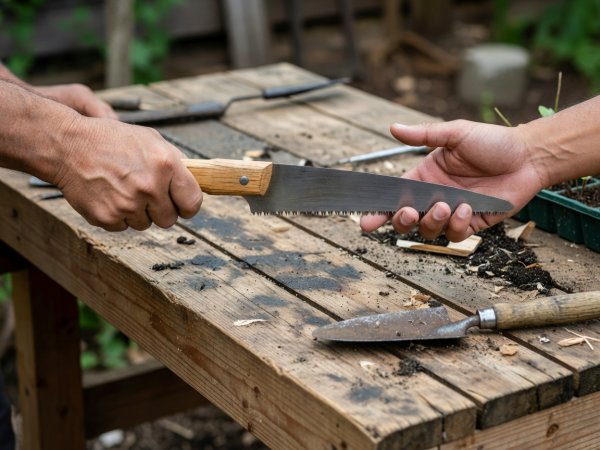
Tool Station Layout for Calm Flow
How you lay out tools determines whether participants feel capable or hesitant. Instead of dumping everything into a noisy metal wheelbarrow, set up shadow-marked canvas rolls at each bench:
- Colour-coded tape gauges: Wrap bright lime electrical tape around drill bits and measuring sticks at the exact depth or cut length required so nobody stresses over reading millimetre marks without glasses.
- Clamps as a "third hand": Stock four quick-release one-handed bar clamps at every station. Clamping workpieces securely lets participants with reduced grip strength or single-hand dexterity saw and fasten safely.
- Final 15-minute connection ceremony: Bring all completed troughs or screens together into their final courtyard configuration, connect the irrigation jumper tubes, and water the plants in together.